> ## Documentation Index
> Fetch the complete documentation index at: https://dripart-docs-robin-i18n-sync.mintlify.site/llms.txt
> Use this file to discover all available pages before exploring further.
# OpenAI GPT-Image-1 节点
> 了解如何在 ComfyUI 中使用 OpenAI GPT-Image-1 合作伙伴节点生成图像
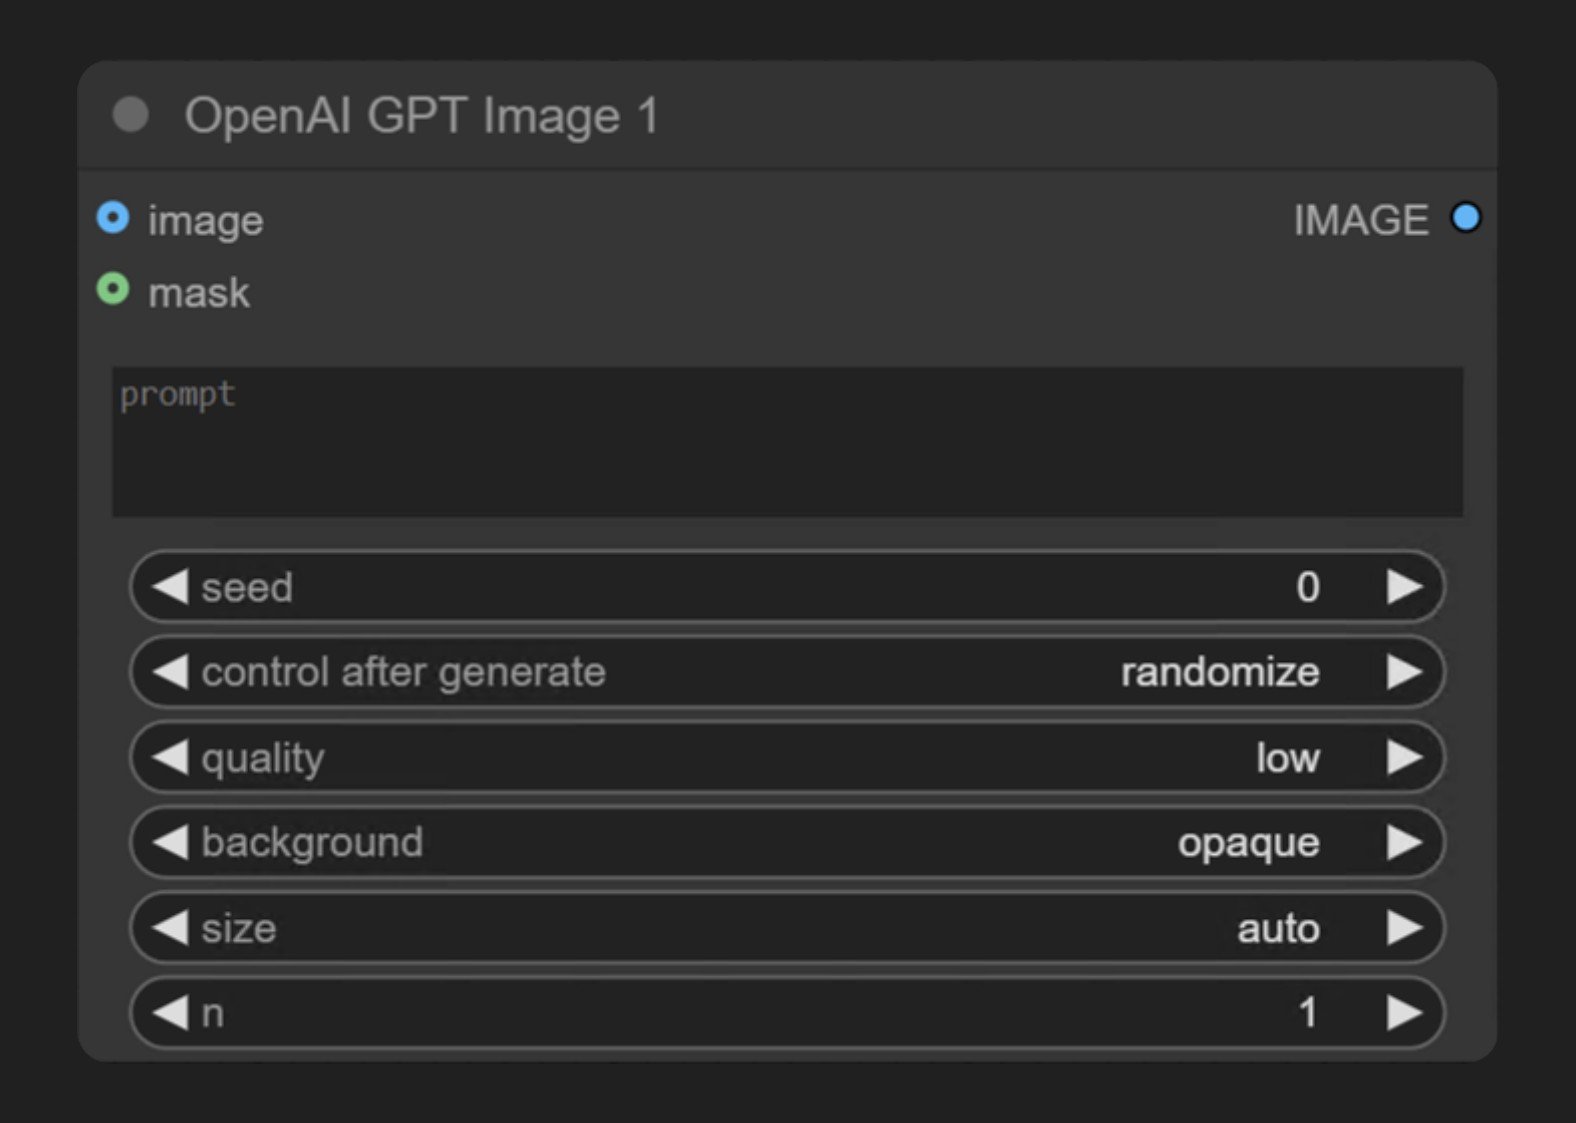 OpenAI GPT-Image-1 是 ComfyUI 合作伙伴节点系列中的一员,允许用户通过 OpenAI 的 **GPT-Image-1** 模型生成图像。这与 ChatGPT 4o 中用于图像生成的模型相同。
**OpenAI GPT-Image-1** 节点通过 OpenAI 的图像生成 API 同步生成图像。它接收文本提示并返回符合描述的图像。GPT-Image-1 是 OpenAI 目前最先进的图像生成模型,能够创建高度细致且逼真的图像。
## GPT-Image-1 的优势
* 文生图
* 图像编辑功能(通过蒙版进行 inpainting)
* 从参考图像进行图生图
* 多图像输入,可将多张参考图像合并到一次生成中
## 示例输出
从单个文本提示进行文生图:
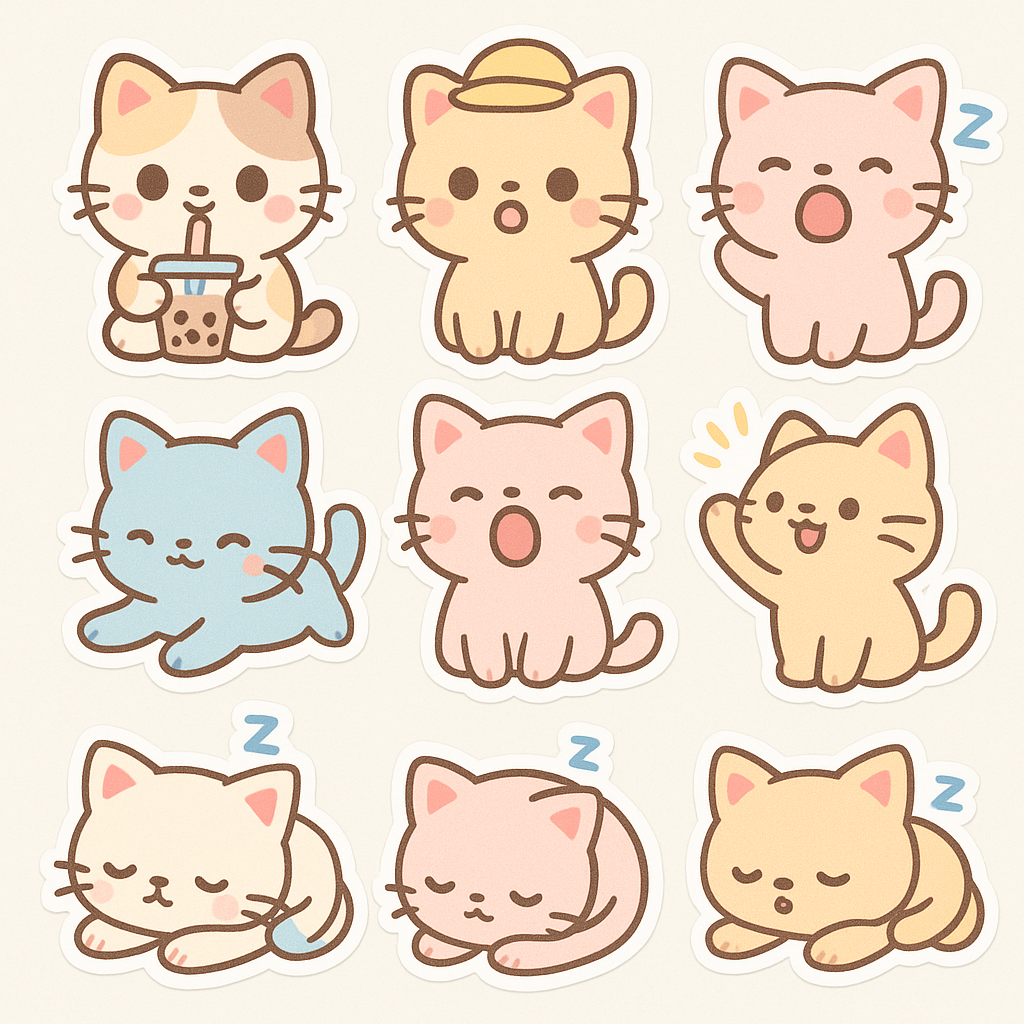
从参考图像进行图生图:

多图像输入,将多张参考图像合并到一次生成中:

Inpainting,替换输入图像中的蒙版区域:
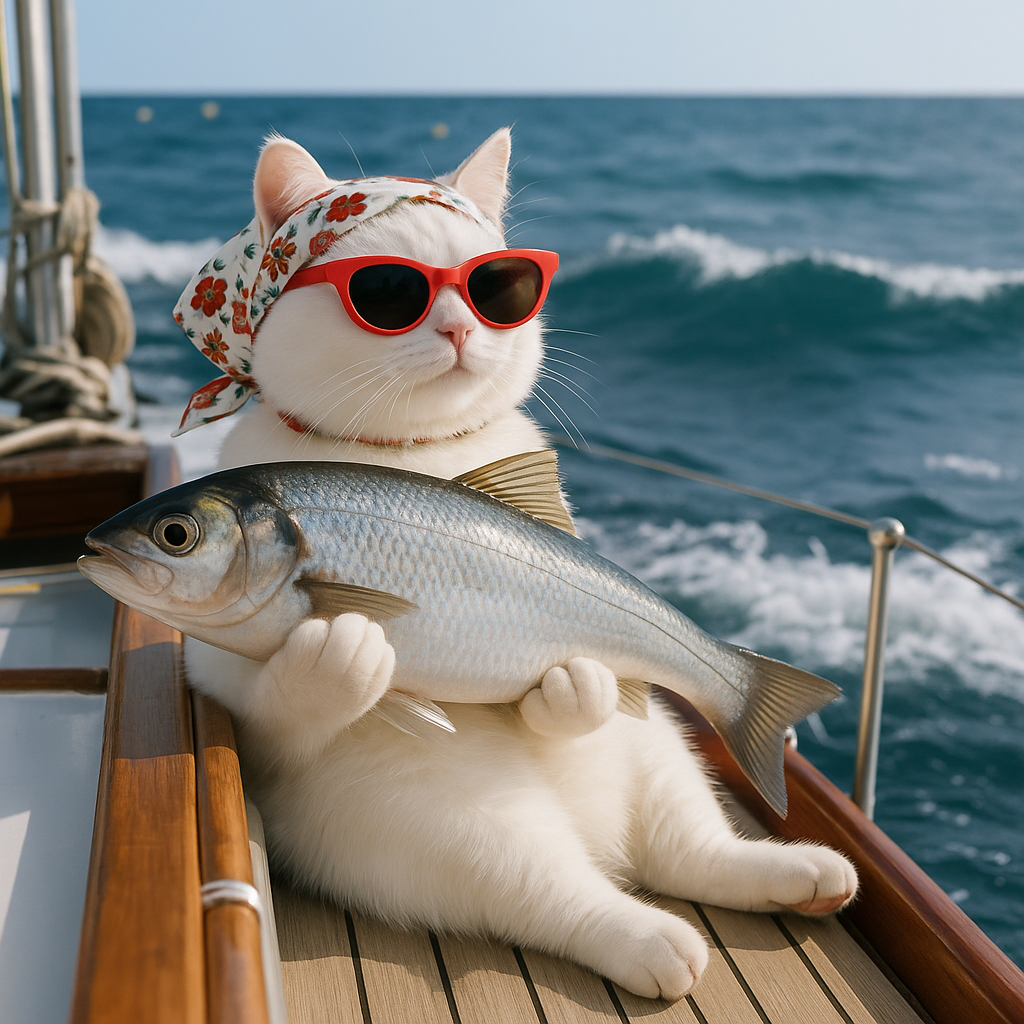
## 在 ComfyUI 中使用
在本地或 Comfy Cloud 的 ComfyUI 中运行文生图、图生图、多图像输入和 inpainting 工作流
OpenAI GPT-Image-1 是 ComfyUI 合作伙伴节点系列中的一员,允许用户通过 OpenAI 的 **GPT-Image-1** 模型生成图像。这与 ChatGPT 4o 中用于图像生成的模型相同。
**OpenAI GPT-Image-1** 节点通过 OpenAI 的图像生成 API 同步生成图像。它接收文本提示并返回符合描述的图像。GPT-Image-1 是 OpenAI 目前最先进的图像生成模型,能够创建高度细致且逼真的图像。
## GPT-Image-1 的优势
* 文生图
* 图像编辑功能(通过蒙版进行 inpainting)
* 从参考图像进行图生图
* 多图像输入,可将多张参考图像合并到一次生成中
## 示例输出
从单个文本提示进行文生图:

从参考图像进行图生图:

多图像输入,将多张参考图像合并到一次生成中:

Inpainting,替换输入图像中的蒙版区域:

## 在 ComfyUI 中使用
在本地或 Comfy Cloud 的 ComfyUI 中运行文生图、图生图、多图像输入和 inpainting 工作流